As winter fades, your deck has a story to tell: how it handled freezing nights, wet days, and long stretches without use. Before chairs, planters, and the grill go outside, pause for a slow look. Stand back and scan the whole structure from different angles. Walk the surface heel to toe and listen. A squeak, bounce, or wobble points to spots that deserve attention. Look underneath if you can; a flashlight helps. Mark anything odd with painter’s tape so you can return with tools. You are not trying to fix everything at once, only spotting color changes, cracks, loose parts, and areas that stay damp. This early pass sets your plan for the day and helps you organize what needs cleaning, tightening, or replacing. A calm, careful look now can spare bigger repairs once spring gatherings begin.
- Step back, scan wide, then look close
- Walk every board; note movement or noise
- Check under the deck with a flashlight
Focus On the Ledger Board And House Connection
The ledger board is the strip of framing that ties the deck to your home. It carries a lot of load and needs to shed water. Look for continuous metal flashing tucked behind the siding and over the top of the ledger so rain runs out, not behind. If you see only caulk or patchy metal, plan for an upgrade because sealant alone cannot manage bulk water. Examine fasteners along the ledger. You should see structural screws or through-bolts with washers, not just common nails. Loose or missing fasteners create gaps that invite moisture and movement.
A few practical checks:
- Sight along the ledger for separations from the wall
- Probe nearby wood with a screwdriver; soft fibers suggest decay
- Look for dark streaks or rust below fasteners, a sign of corrosion
- Confirm that the siding above the ledger is intact and not channeling water behind it.
If anything looks suspect, a licensed contractor can replace hardware and install proper flashing.
Check Joists, Beams, Posts, And Connectors Carefully
Under the surface, framing members and connectors do the heavy lifting. Focus on joist hangers, post bases, post caps, and beam connections. Hangers should hug the wood with the correct nails in every hole. Roofing nails, drywall screws, or random substitutes are not designed for this job. If hangers are bent, gapped, or missing nails, note them for replacement. At post bases, make sure posts sit on approved brackets or piers, not directly in soil. Soil contact keeps wood wet and can lead to decay.
Useful steps to follow:
- Tug each rail post and corner post; movement suggests loose bolts or cracked wood
- Check for white fuzz, dark staining, or flaking metal on brackets
- Keep fastener types consistent where possible to reduce chemical reactions between dissimilar metals
- For treated lumber, confirm that connectors and screws are rated as compatible with the treatment chemicals
When connectors are corroded, swap them for galvanized or stainless options made for outdoor exposure.
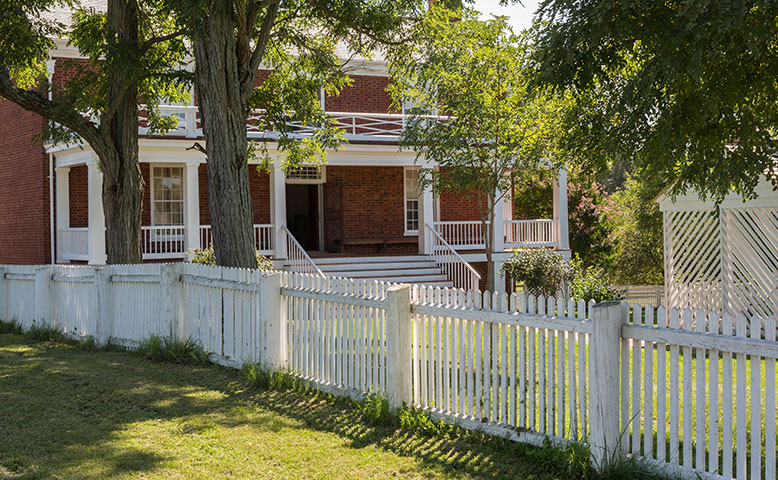
Stairs And Railings Deserve A Separate Check
Most accidents happen on stairs, so give them focused time. Press the top rail and posts from different directions; they should feel firm. Look closely at where rails meet posts and where posts meet the deck frame. Cracks around bolts can spread with repeated use. Sight down stair stringers for warping or twisting. Step on each tread near the nose; unusual flex suggests loose fasteners or weak backing. Make sure the first and last steps feel consistent with the rest; an irregular rise or run can throw off balance even if the difference looks small.
Simple safety details:
- Tighten loose fasteners on handrails and guard sections
- Replace split or cupped treads before they worsen
- Remove grit and leaves from corner joints that trap moisture
- Ensure openings in guard sections are small enough to discourage climbing or slipping through, per your local code
If stairs creak loudly or rails wiggle after tightening, call a pro to inspect connections.
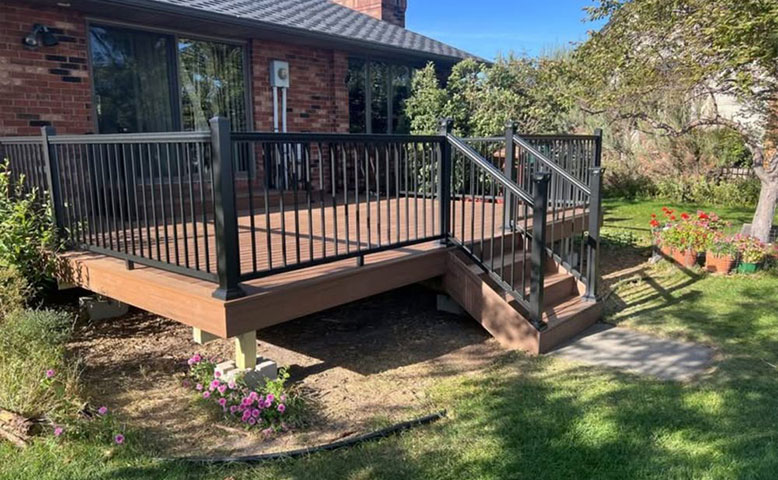
Decking Boards, Fasteners, And Surface Maintenance Basics
The walking surface tells you a lot about wear. Look for popped nails, raised screws, splinters, and wide cracks. Use a putty knife to test board edges; if it sinks easily or the wood sheds fibers, plan to replace those boards. With composite or PVC decking, focus on gaps, chipped edges, and stains. For wood, gentle cleaning does more good than raw pressure. Start with a hose, mild soap, and a stiff brush. Save pressure washing for last and keep the tip moving to avoid scarring.
Practical surface steps:
- Swap rusted or mismatched screws for coated deck screws designed for outdoor use
- Keep proper spacing between boards so water drains and air can dry the surface
- Use breathable outdoor rugs and raise planters on small feet to allow airflow
- Recoat wood when it is clean and dry, following the product’s prep and curing directions
Small fixes, such as tightening a few screws, often stop squeaks and reduce trip hazards.
Moisture Control, Drainage, And Corrosion Prevention Tips
Water is the long game for decks. Your goal is simple: let rain pass through or off the deck quickly and keep framing dry. Start at the top with clear board gaps and clean downspouts nearby. Under the deck, soil should slope away from posts and footings. Puddles near bases keep wood damp and invite corrosion. Where metal meets wood, choose hardware designed for outdoor use. Galvanized or stainless options resist rust far better than plain steel, especially in coastal areas or where de-icing products are commonly used. Try to keep fasteners and connectors from different metals from touching; mixing metals can accelerate corrosion.
Smart moisture habits:
- Keep leaves and mulch off post bases
- Add simple splash blocks at downspouts to push water away
- Consider joist-top flashing tape during board replacement to protect fastener lines
- Replace any bracket that flakes or stains the wood below it
Dry materials last longer and stay stronger through spring rains.
Lighting, Outlets, Grills, And Other Spring Readiness
Outdoor lights and power deserve a yearly test. Press the “test” and “reset” buttons on exterior safety devices that protect the circuit. Outlet covers should be weather-rated and able to close with a cord plugged in. Tighten any loose fixture hardware and replace cracked lenses on step or post lights. Secure hanging wires with proper clips, not tape. If you run low-voltage lights, check the transformer connections and total load to ensure the system is not overstressed. For grills and heaters, keep safe clearances from rails and overhead features. Inspect propane hoses for brittleness and make sure valves operate smoothly.
A quick readiness checklist:
- Use products listed for outdoor locations only
- Replace frayed cords and corroded plugs at once
- Keep fuel containers upright and away from heat
- If breakers trip, lights flicker, or outlets buzz, stop and schedule an inspection
These small checks set you up for a relaxed evening use when friends drop by.
Conclusion
Spring is the perfect time to give your deck a thorough once-over, so gathering with friends feels easy and safe. Start with a thorough inspection, checking the ledger and connectors, and give stairs and rails extra attention. Also, keep moisture moving away from key parts. Clean first, then repair, and call a professional when the work exceeds the capabilities of basic tools. If you want another set of eyes before outdoor plans ramp up, local experts can help with a simple inspection and a clear action list. Renovex Outdoor Living & Decks LLC offers deck services. If any item on your checklist raised questions, consider reaching out for a quick visit so small fixes happen before spring weekends get busy.